

Microcement DIY Kit projects are on the rise because they promise a seamless, modern finish for floors, walls, and countertops—without demolition or high contractor bills. But is a kit really as easy, budget-friendly, and durable as ads suggest? Here’s the realistic, step-by-step cost comparison and buyer’s guide no one else is giving you.
Key Takeaways
- All-in Microcement DIY Kit costs are transparent but require extra tools and prep few guides mention—saving thousands in demolition if done right.
- Single-component kits make DIY possible for handy homeowners but are technique-sensitive and less forgiving than tile or laminate.
- Long-term durability hinges on meticulous surface prep, strict temperature control, and ongoing aftercare—be ready for re-sealing schedules and real-world wear.
- Why Microcement DIY Kits Are Trending in 2024
- Microcement DIY Kit: Step-by-Step Guide
- Advanced Analysis & Common Pitfalls
- Conclusion
- FAQ
Why Microcement DIY Kits Are Trending in 2024
DIY home renovation is booming—and Microcement DIY Kit sales are leading the trend for seamless, joint-free surfaces. Homeowners prefer these kits because they install right over tile, concrete, or MDF, skipping demolition. E-commerce sites, step-by-step tutorials, and ready-to-use, single-component kits are lowering barriers for first-timers. The fastest growth areas? Kitchen worktops, bathroom walls, entryway floors, and accent walls.
According to the latest research, “The global microcement coating sector is valued around $1.8 billion in 2025 and projected to about $3.6 billion by 2034, driven by an 8% plus annual growth rate and a 22% CAGR in online kit sales from 2022–2025.” [1] Wall applications now account for ≈28% of revenue and countertops ≈16%.
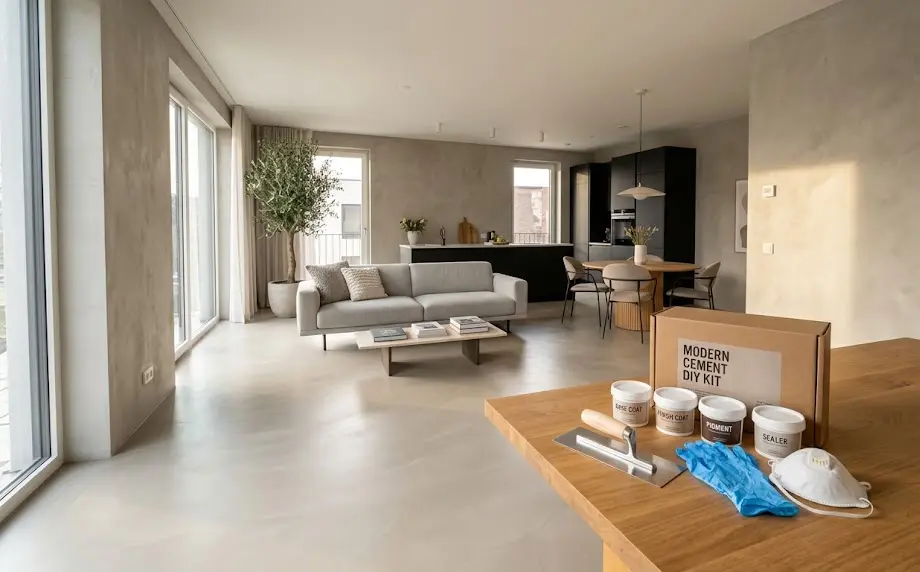
Bottom line: These kits are attractive because they minimize disruption, but still require strict attention to detail to avoid costly mistakes.
Microcement DIY Kit: Step-by-Step Guide
Ready to tackle your own seamless floor, wall, or countertop? Follow this system to avoid hidden costs and rookie errors:
- Check Your Substrate – Microcement won’t bond to dust, wax, or loose tiles. Test with a moisture meter and adhesion test patch first.
- Gather Complete Tools Most kits include primer, base, finish coats, and sealer. You’ll need to add a steel trowel, small roller, 80–120 grit sandpaper, a mixing drill, masking tape, and a quality respirator for dust (not always included).
- Control Your Environment – Apply only in 15–25°C with steady humidity; avoid cold or damp days to prevent delamination or bubbling. Use a space heater or dehumidifier if needed.
- Prime, Then Apply Thin Coats – Use the supplied or recommended primer. Apply 2–3 ultra-thin coats (never thick) with slow, even strokes and full wall/floor passes. Overlap edges wet-on-wet.
- Sand Between Coats – Lightly, every time. Remove residue before the next layer.
- Seal and Finish – Use a compatible water-based or 2K polyurethane sealer. For bathrooms or countertops, make sure you’re using waterproof microcement bathroom or microcement countertop finish products.
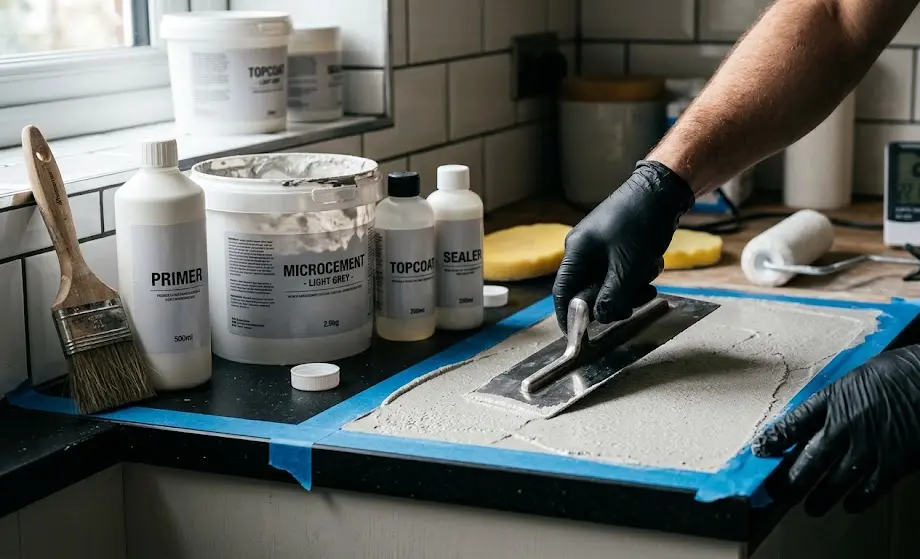
Don’t underestimate drying times: Rushed work causes bubbling, poor adhesion, and uneven texture negatively impacting finish and durability. For a more detailed workflow, see our deep guide on kitchen microcement backsplashes.
Curious whether you can buy your kit and tools locally? Use our research on Home Depot holiday schedules or check if your local Lowe’s Home Improvement carries microcement stock.
Advanced Analysis & Common Pitfalls
Here’s what most kit sellers don’t tell you:
- DIY kit real cost: Kits run €211.09 to €385.76, including usual coatings, but add €70–140 for pro-grade trowels, sandpaper, rollers, and PPE. Still much less than the pro price for a microcement countertop (≈€120/lm).
- Missed extras: Most kits leave out masking tape, mixing drills, replacement pads, and respirators. Don’t skip these—cut corners and you risk ruining the finish.
- Technique is everything: Microcement is technique-sensitive: “You can’t do one side and then go back to the other…imagine that this is an unsandable product.” [4] If you mess up, repairs stand out.
- Ongoing commitment: Surfaces, especially countertops, require strict aftercare: “it doesn’t resist direct heat (trivets always), scratches if you cut without a board, stains must be cleaned quickly and the varnish needs renewing more often than on other surfaces.” [9]
| Category | DIY Microcement Kit | Professional Tiling | Epoxy Coating |
|---|---|---|---|
| Cost (all-in) | €250–525 inc. tools | €950–2000+ (depending on area) | €500–900 inc. pro labor |
| Demolition Required? | No | Often Yes | Sometimes |
| Learning Curve | High | N/A (pro labor) | Medium |
| Aftercare | Frequent re-sealing | Standard tile grout cleaning/sealing | Occasional buffing |
| Risk of Surface Failure | Moderate (prep-dependent) | Low (pro-quality) | Medium |
Major buyer complaints, per real reviews and testing:
- Poor adhesion or bubbling often traced to rushed cure times or skipped priming (key source on application mistakes).
- Visible seams or color streaks caused by incomplete mixing or uneven application.
- Messy jobsite—dust and debris settle in the sealer, making finished floors look dull (see common microcement defects).
- Premature scratches or stained areas due to improper sealer or lack of regular reapplication, especially in kitchens or bathrooms.
For more expert-backed budget tips, see our home improvement guide for further cost-saving ideas.
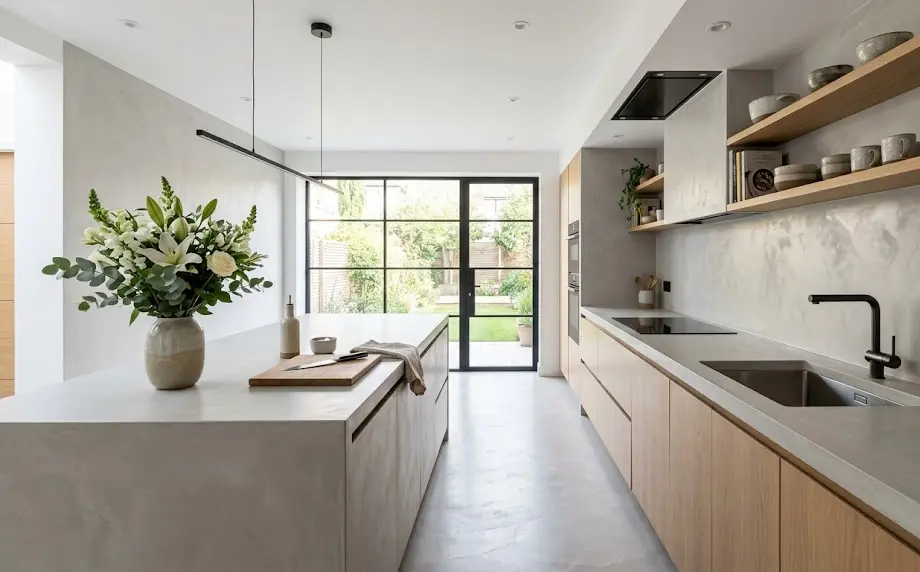
Takeaway: A Microcement DIY Kit can save thousands, but only if you budget for extras, nail every prep step, and commit to regular maintenance otherwise, be prepared for visible flaws or increased repair costs.
Conclusion
Microcement DIY kits are transforming home renovations. You save on demolition, enjoy a contemporary seamless look, and keep project costs between €250–525. But every shortcut on prep or aftercare raises risk. Study your product, check the fine print on coverage and compatibility, and remember: thin even coats, the right environmental controls, and aftercare are non-negotiable. If you’re ready for the learning curve, a Microcement DIY Kit will give you bespoke results and serious savings. Want more realistic renovation strategies? Check our guides for small kitchen ideas and cheap home improvement projects.
Start your project fully prepared—download our free Microcement Kit checklist, and be honest about your skill and patience. You can master the DIY finish, but only by following the full process from prep to reseal.
FAQ
What is included in a typical Microcement DIY Kit?
Most kits include primer, microcement base and finish coats, and a sealer. You still need to purchase trowels, mixing tools, masking tape, rollers, sandpaper, and a respirator separately.
How much does a DIY microcement project really cost?
Kits range from €211.09 to €385.76, but budget €70–140 extra for essential tools and consumables. This totals around €250–525, still much less than hiring a contractor.
How hard is DIY microcement compared to tile or epoxy?
It’s more technique-sensitive than either. Mistakes are difficult to fix due to limited sanding ability. Patience, surface prep, and environmental control are essential.
What are the top mistakes homeowners make with microcement?
Poor priming, skipping environmental controls, rushing cure times, and not removing dust or debris between coats. All result in uneven, weak, or stained finishes.
How often does microcement need maintenance?
Plan to reseal every 12-24 months on floors or countertops, and clean only with neutral pH products. Avoid puddles and never place hot pans directly on the surface.