

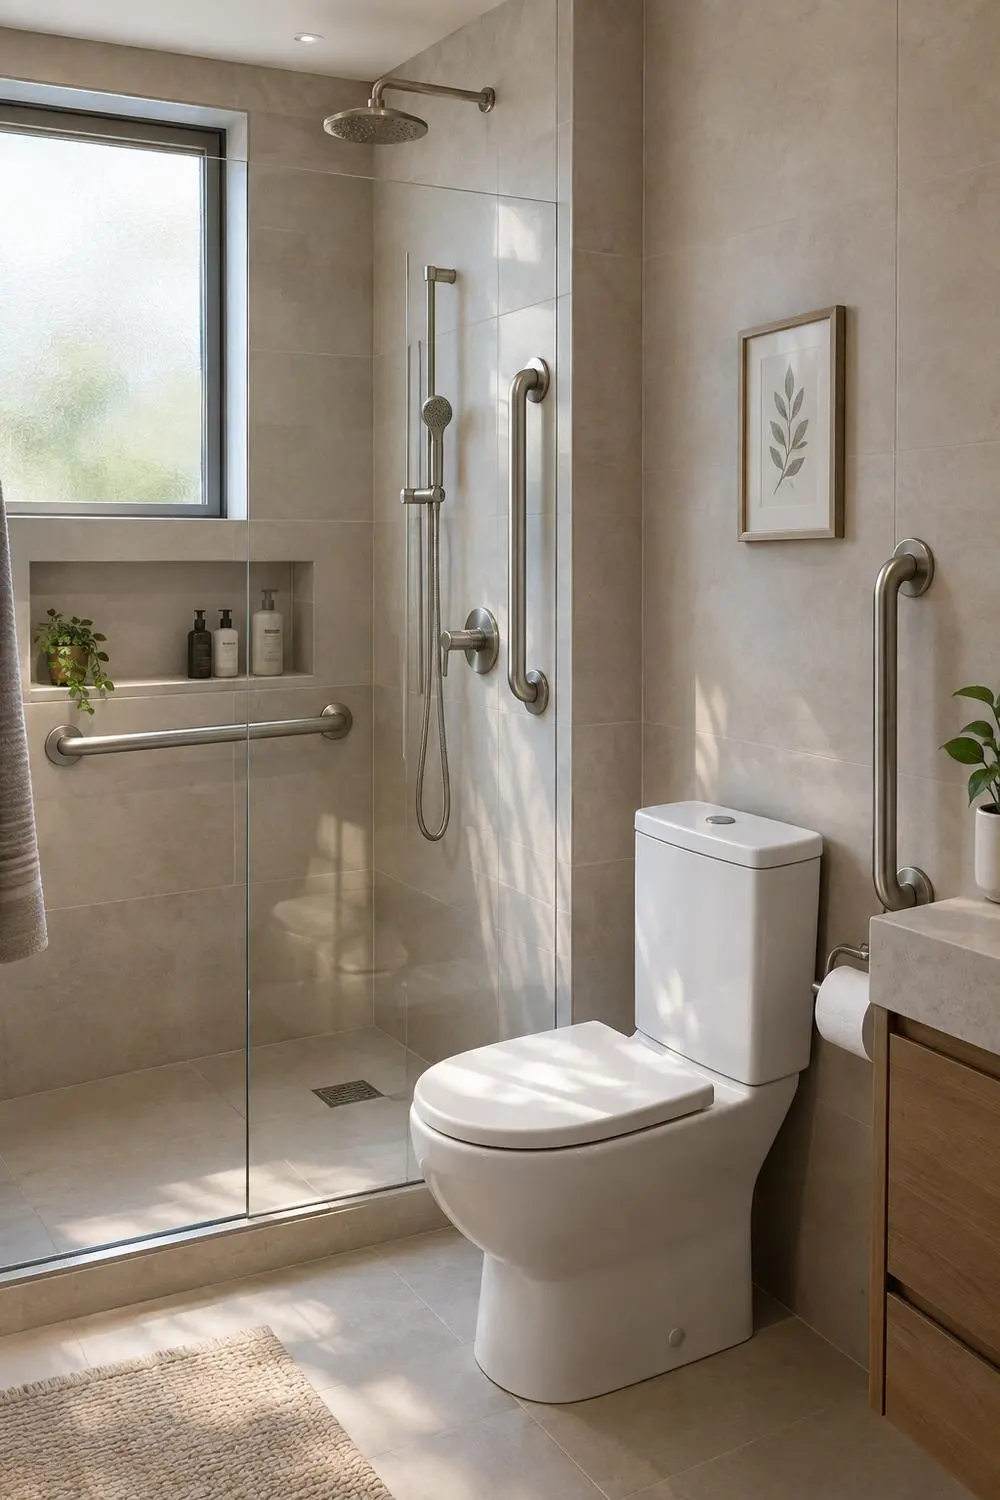
bathroom grab bars that look good are no longer a contradiction in modern bathroom design—they’re an essential upgrade for anyone planning to age in place, but who refuses to compromise on style. Many homeowners, like you, are searching for safety features that align with high-end finishes and don’t make a small bath feel like a hospital. This guide walks you through how to choose, place, and install decorative grab bars that provide peace of mind without sacrificing the aesthetic value of your space.
On this journey, it’s easy to make mistakes that cost time and money—from choosing a bar that looks great but lacks safety ratings, to underestimating installation complexity in a tight layout. Below you’ll discover what product specs and mounting options truly matter, placement advice tailored for small bathrooms, how to avoid “industrial” eyesores, and when to splurge for designer finishes without regret.
Key Takeaways
- Prioritize both ADA-equivalent safety standards and designer finishes to find bathroom grab bars that look good and perform reliably.
- Mounting method and strategic placement influence not only safety, but how seamlessly grab bars blend into your small bathroom’s design.
- Read actual user reviews to avoid common pitfalls like slippery finishes, poorly concealed hardware, or unreliable suction mounts.
- Why stylish grab bars matter now — safety plus design
- Step-by-step guide to choosing and installing decorative grab bars
- Common mistakes, limitations, and advanced considerations
- Making stylish safety the new standard
- FAQ: grab bars that look good
Why stylish grab bars matter now — safety plus design
The intersection of safety and design has never been more crucial. As more Americans plan to age in place, bathroom remodels increasingly focus on integrating features like bathroom grab bars that look good. For small aging in place bathrooms, the right grab bar can prevent serious injuries, while also helping maintain property resale value by avoiding an institutional feel.
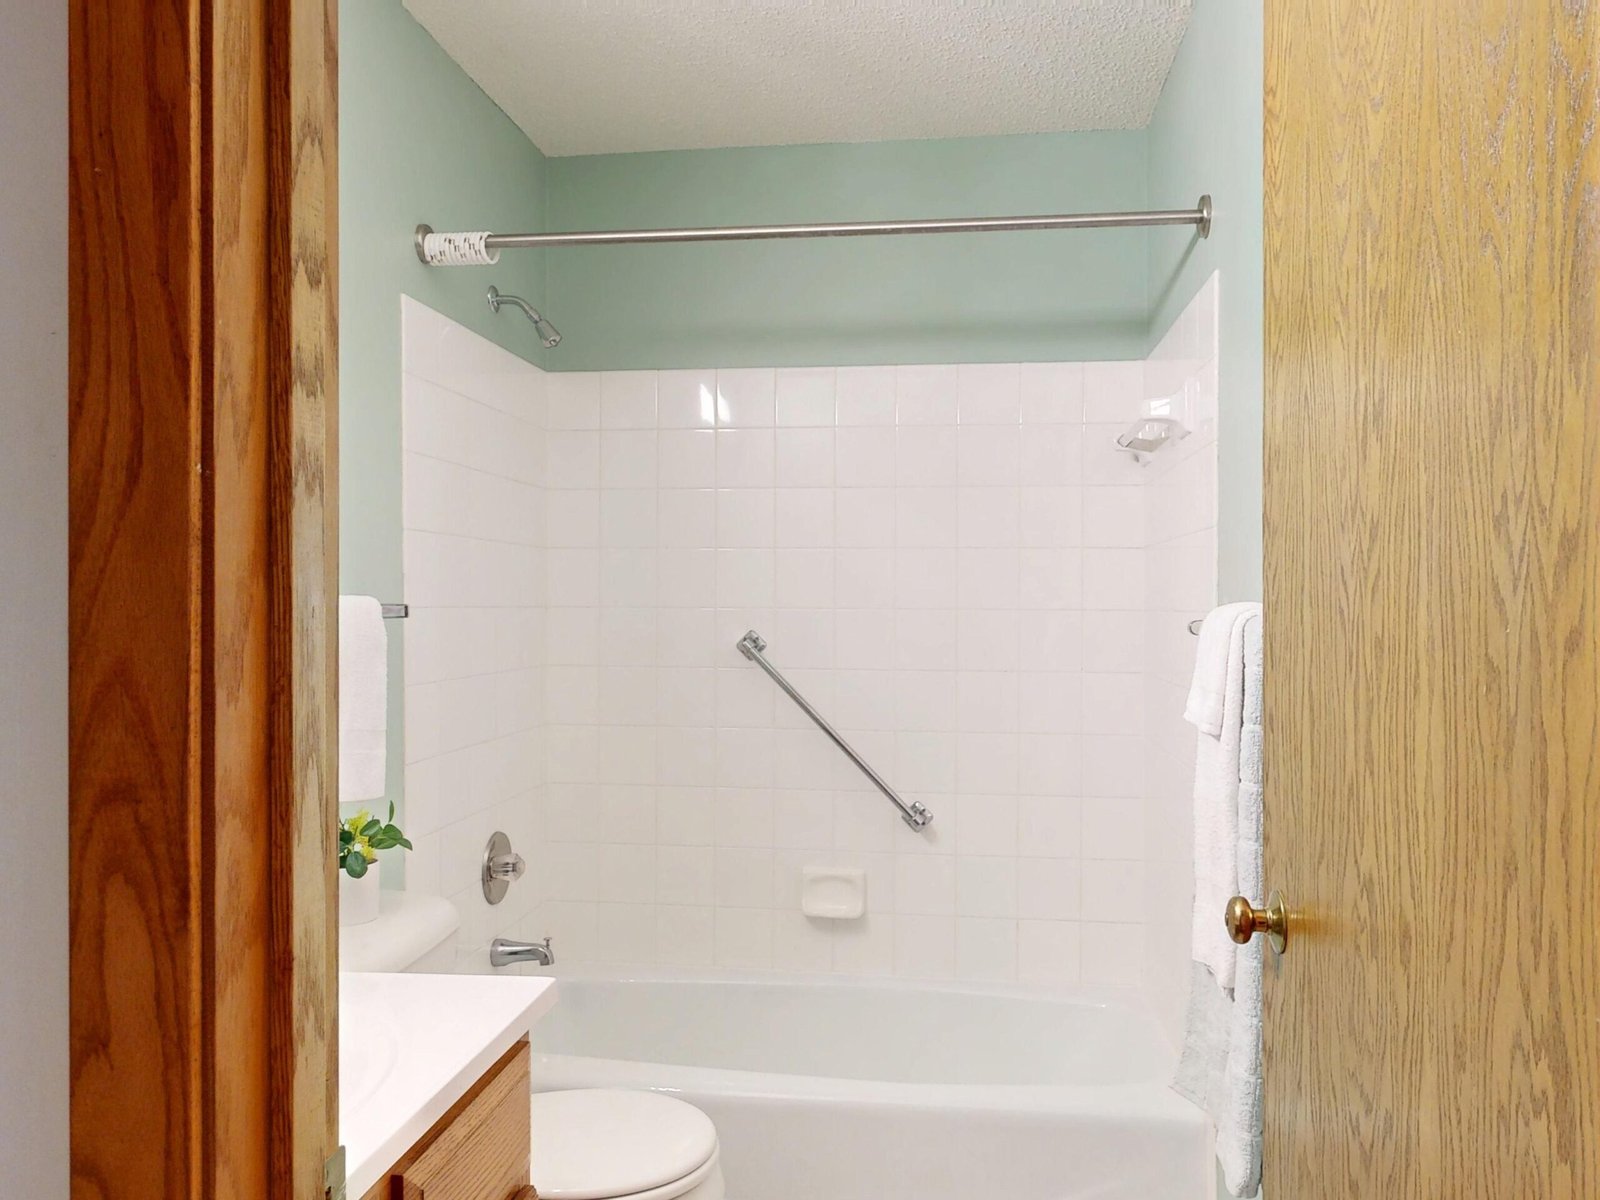
Why is this urgent? According to the CDC, bathroom injury rates rise from 49.7 per 100,000 among ages 15–24 to 200.2 per 100,000 for those 85 and over (source). Many of these injuries can be prevented by installing secure grab bars. Yet, old-fashioned “hospital-chic” fixtures often deter homeowners concerned about beauty and resale.
Fortunately, manufacturers now offer decorative grab bars for bathrooms and designer grab bars for showers that coordinate with luxury fixtures—from matte black and bronze to coordinating hardware collections. This shift means you no longer have to choose between safety and stunning design in your aging in place small bathroom.
Step-by-step guide to choosing and installing decorative grab bars
Clarify your safety and design priorities
Start by evaluating who will use the bathroom, how much support is needed, and the styles/finishes matching the rest of your fixtures.
- Safety spec: Insist on a load rating of at least 250 pounds (ADA-equivalent, even in residential settings).
- Design: List the finishes already used in your bathroom—brushed nickel, matte black, brass, or chrome are now widely available for stylish shower grab bars.
- Installation: Consider whether you’ll use a contractor, and if you prefer concealed fasteners for a minimal look.
Choose the right materials and finish for both grip and looks
Stainless steel is a gold standard for safety, but today’s options include powder-coated, brass, and even textured finishes. Avoid high-polish chrome for primary grab points; reviewers note polished bars are “more slippery with soapy hands,” especially in wet areas (source).
- Textured or matte finishes improve grip and reduce slip risk.
- Powder-coat and substantial brass bars blend well with spa-inspired or vintage bathrooms.
- Check for actual ADA-compliance or stated weight ratings. ADA bars require a minimum 250-pound rating and specific distance from the wall, ensuring safe usability if installed correctly (source).
Decide on your mount type
Consider your bathroom walls (tile, drywall, or plaster), access for reinforcement, and whether you want a bar for the shower, next to the toilet, or near the door.
- Bolt-in mounts: Highest safety, but require planning and possibly blocking behind the wall.
- Tension-mounted poles: Good for rental or places where drilling isn’t feasible (e.g. floor-to-ceiling tension poles with up to 300-pound capacity, best used near toilets but not in tubs or wet showers) (source).
- Integrated shelves or hooks: Some stylish bars double as towel or shampoo holders, helping reduce visual clutter in a small bathroom.
💡 Pro Tip: Request or download an installation template from the manufacturer. It makes layout and drilling much easier, ensures ADA-compliant heights, and reduces measurement errors.🔥 Hacks & Tricks: If you’re remodeling, ask your contractor to install plywood blocking behind shower/tub walls before tiling. This makes future repositioning or upgrading grab bars vastly easier.Plan your grab bar placement—especially in a small bathroom
Professional recommendations from occupational therapists and Age Safe America stress customizing placement to your specific room and needs (source).
- Shower: Horizontal bar 33–36 inches from the floor, plus a vertical bar at entry. Consider an angled bar for easier transfers.
- Tub: Vertical bar at entry point, horizontal bar along back wall for sitting/standing support.
- Toilet: Side wall is ideal. Place horizontal bars 33-36 inches up, or “L” shapes for multi-directional support.
- Small bathrooms: Prioritize the bar position that helps most during main entry/exit and shower transfers. Angled bars can help where full-length horizontal bars won’t fit due to obstacles or limited wall space.
Check actual installation requirements
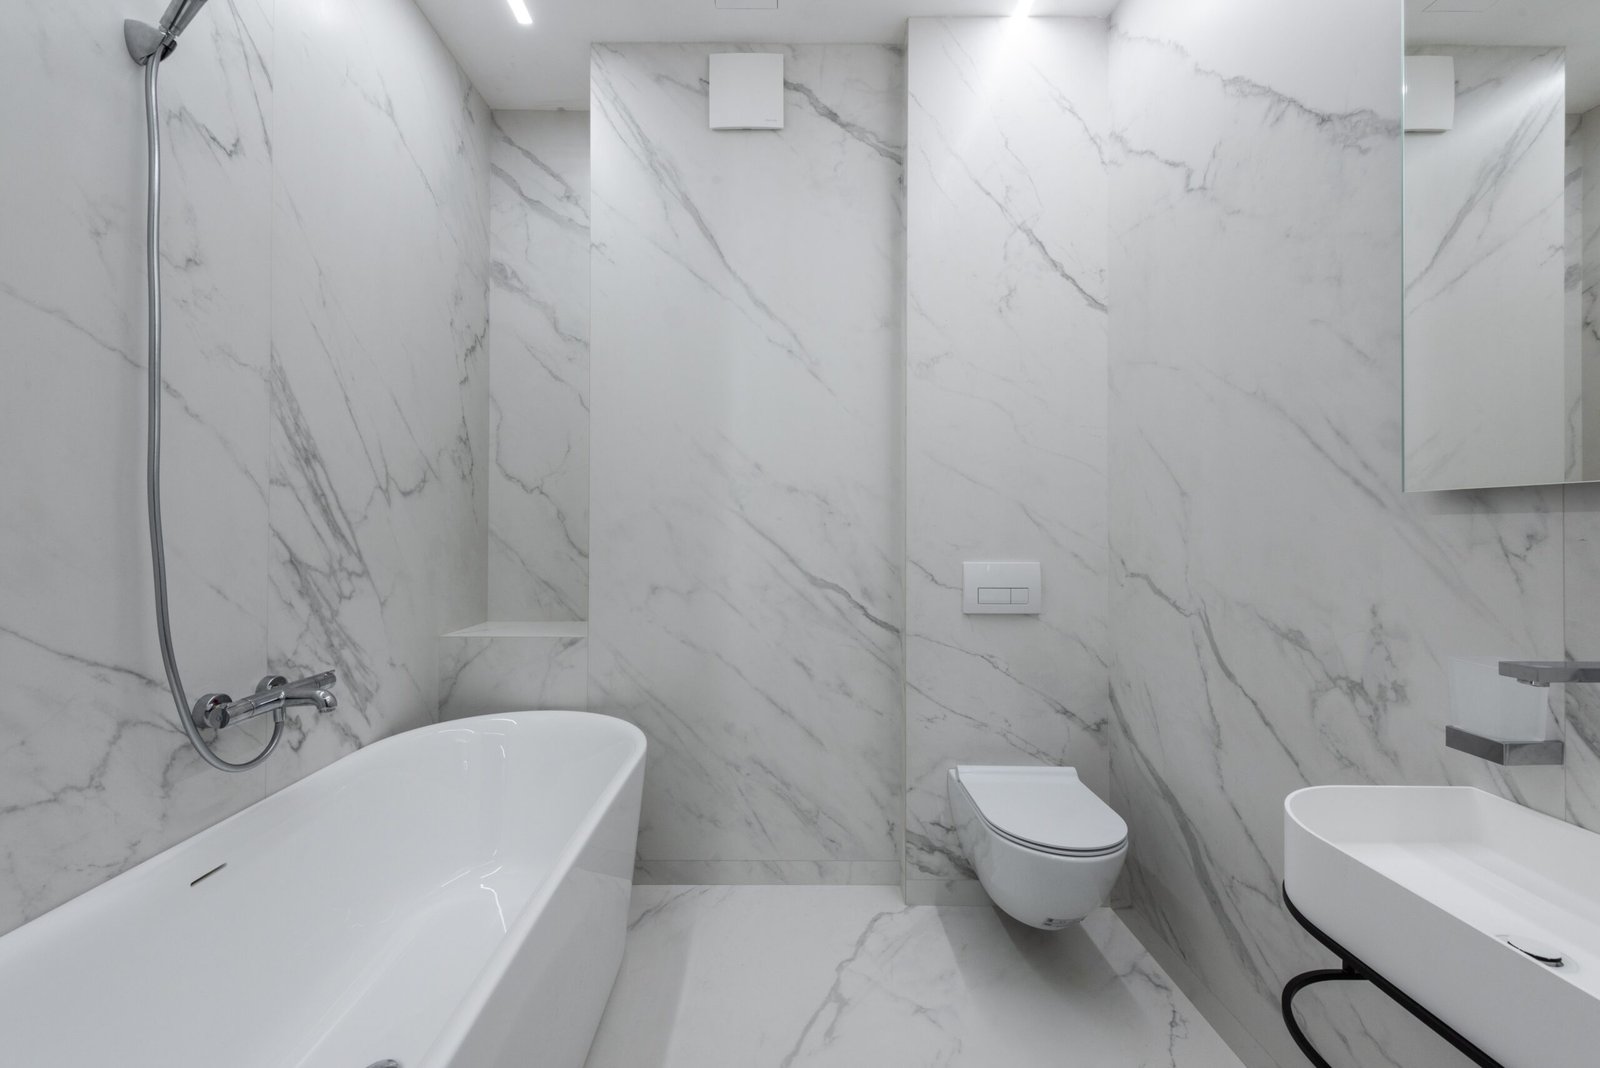
Some decorative grab bars bathroom lines are “less DIY friendly” and may require a contractor. Concealed flange covers are great for looks, but require careful measuring and sometimes specialized hardware. Always read real-life installation reviews to spot hidden problems—look for photos showing the bar in a finished bathroom, not just staged product shots.
Run a final buying checklist
Grab Bar Buying Checklist: Screenshot or Print This- Minimum 250-lb weight rating (ADA or manufacturer rating specified)
- ADA-equivalent specs (correct bar diameter, 1.5” wall clearance, non-slip grip)
- Mounting type fits your wall and blocking (bolt-in or secured tension; avoid suction-only bars for weight support)
- Finish matches your faucets and accessories; choose textured or matte where slip is a concern
- Real-life photos of installed product, not just stylized ads
- Warranty and clear return policy for non-DIY-friendly designer grab bars shower lines
- Professional installation recommended for structural or concealed hardware
Red Flags:
- Suction-cup only (many reviewers warn of sudden detachment and falls)
- No listed weight or safety specs
- Photos only show product alone, not integrated into a finished space
Product categories and style direction tips
- Concealed-flange designer grab bars: Minimal mounting plates, often available in coordinated finishes with other bathroom hardware.
- Integrated grab bar/shelf combos: Blends function and storage, excellent in contemporary or spa bathrooms.
- Accessory collections: Brands often offer lines in matte black, brass, or brushed nickel with matching towel bars, robe hooks, and shelving for a cohesive look.
Scale your selections to your bathroom style. Modern bathrooms work well with geometric or square-profile bars, while vintage spaces may benefit from curved or ornate grab bars in antique brass or polished nickel. For more on bathroom style ideas, see moody bathroom ideas and timeless bathroom fixtures inspirations.
Common mistakes, limitations, and advanced considerations
Despite increased options for bathroom grab bars that look good, many buyers repeat the same mistakes—or are surprised by new limitations. Here’s how to avoid the most common problems:
- Choosing suction-cup bars for primary support: Many reviewers report, “suction cup grab bars falling off, posing a safety risk” (source). Use only as secondary balance aids, not for weight-bearing support.
- Slippery, high-polish finishes: “More slippery with soapy hands”—real reviews indicate a slip risk, especially where wet hands are common. Always select a textured or matte finish for shower and tub use.
- Neglecting wall reinforcement: Even the best mount needs proper anchoring. In a remodel, add backing before wall finishes.
- No plan for design integration: Mixing finishes or mounting shapes can disrupt your decor. Seek coordinated decorative grab bars bathroom or collections for a premium look.
- Assuming all products are DIY-friendly: Some designer grab bars shower are “less DIY friendly” (source) or require contractor tools (tile drills, specialty anchors).
| Option | Best For | Advantages | Limitations |
|---|---|---|---|
| Bolt-in concealed-mount bars | Permanent safety, high resale | Strongest; cleanest look with hidden flanges | Requires drilling; may need blocking or pro installation |
| Tension pole bars | Temporary uses, rental, no drilling allowed | No wall damage; installs in minutes | Not usable in wet zones; limited finish options; sometimes bulkier |
| Suction-cup bars | Travel, temporary stabilization | Easy install, no drilling | Not safe for weight-bearing; risk of unexpected detachment |
| Designer integrated accessories | Luxury finishes, coherent style | Blends with other hardware | Can be expensive; usually requires professional installation |
Finally, placement matters, especially for grab bar placement in small bathrooms. Too many bars—or bars in the wrong spots—can both clutter the look and reduce real-world usability. For tailored tips on small bathroom layouts, visit no tub small bathroom solutions or half bathroom decor strategies.
Making stylish safety the new standard
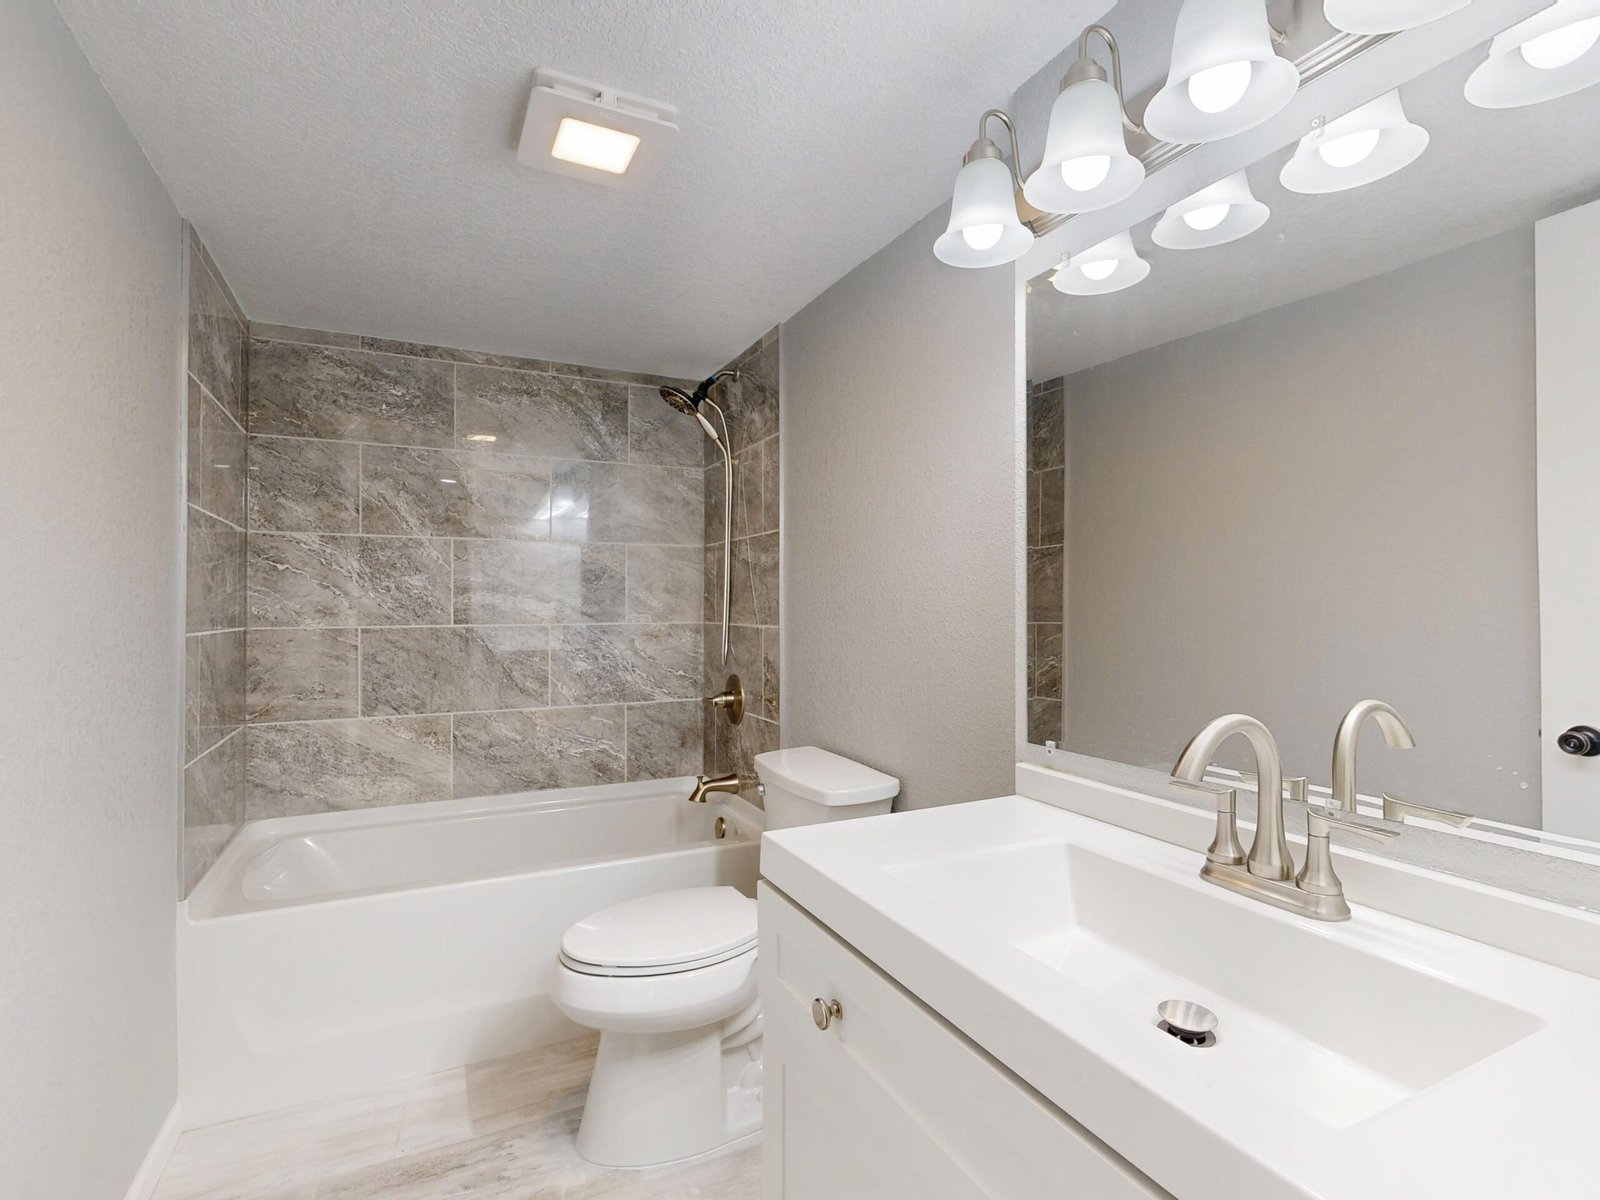
The era of choosing between hospital-grade function and tasteful design is over. The most important action you can take is to prioritize both safety performance and visual harmony when selecting bathroom grab bars that look good. Insist on a 250-lb minimum weight rating, favor textured or matte finishes for grip, and map your mounting plan with design context and room layout in mind.
Want your project to be beautiful, safe, and stress-free? Download your manufacturer’s mounting guides, speak with a pro installer, and check out sources specializing in coordinated accessories for a result you—and guests—will appreciate for years to come. For more inspiration on refining your bathroom, explore other guides on vintage bathroom style and modern bathroom inspiration.
FAQ: grab bars that look good
What materials and finishes provide the safest non-institutional look?
Matte or textured stainless steel, powder-coated, and brass finishes are the most recommended for designer grab bars that both look beautiful and help prevent slipping. Choose finishes that coordinate with your existing bathroom hardware.
Are suction-cup grab bars safe for aging in place?
No. Many users report suction-cup grab bars falling off unexpectedly. Suction bars are best used as temporary aids but should not be relied on for primary support, especially with regular wet use.
Where should grab bars be placed in a small bathroom?
Optimal placement depends on your layout but generally includes a horizontal bar in the shower (33–36 inches high), a vertical bar at the tub or shower entrance, and a sidewall bar next to the toilet. Prioritize main points of transfer and entry/exit where falls are most likely.
Do stylish shower grab bars cost more than standard models?
Usually yes. Decorative or designer grab bars often cost more due to premium materials, unique finishes, and hidden mounting hardware. Installation may also be more complex, sometimes requiring professional help.
How can I make sure my bathroom grab bars really look good after installation?
Select grab bars from a collection that matches your faucet and accessory hardware, choose designer mounting plates or flush covers, and plan mounting so bars line up with existing tile or trim for a seamless, intentional look.